Even though the library can hold any text you'll ever write, you probably want to keep it neat and organized. That's what our Projects feature is for.
The Projects section lets you focus on one project by hiding everything else. Projects are self-contained and provide a predefined distinction between Content and Extras. This allows you to separate chapters from research or articles from ideas.
Please note that the Project section is disabled by default on iOS devices. To enable it, open Ulysses' Settings by tapping the gear icon in the library. Then, go to Edit Library and toggle the Project section on.
Creating a New Project
The Projects section in Ulysses is activated by default. This means you can get started right away and create a new project.
Mac
- Open Ulysses' library.
- Click New Project… in the Projects section. If you already have a project, hover your mouse over the Projects section and click the + button.
- Now, enter a project title and select the location of your project. You can save a project locally or sync it via iCloud.
- You can select a project icon. You can also set a goal or deadline if you check Goal.
- Click OK to create the project.
iPad/iPhone
- Open Ulysses' library.
- Tap New Project in the Projects section. If you already have a project, tap the ellipsis and select New Project.
- Enter a project title and select Continue.
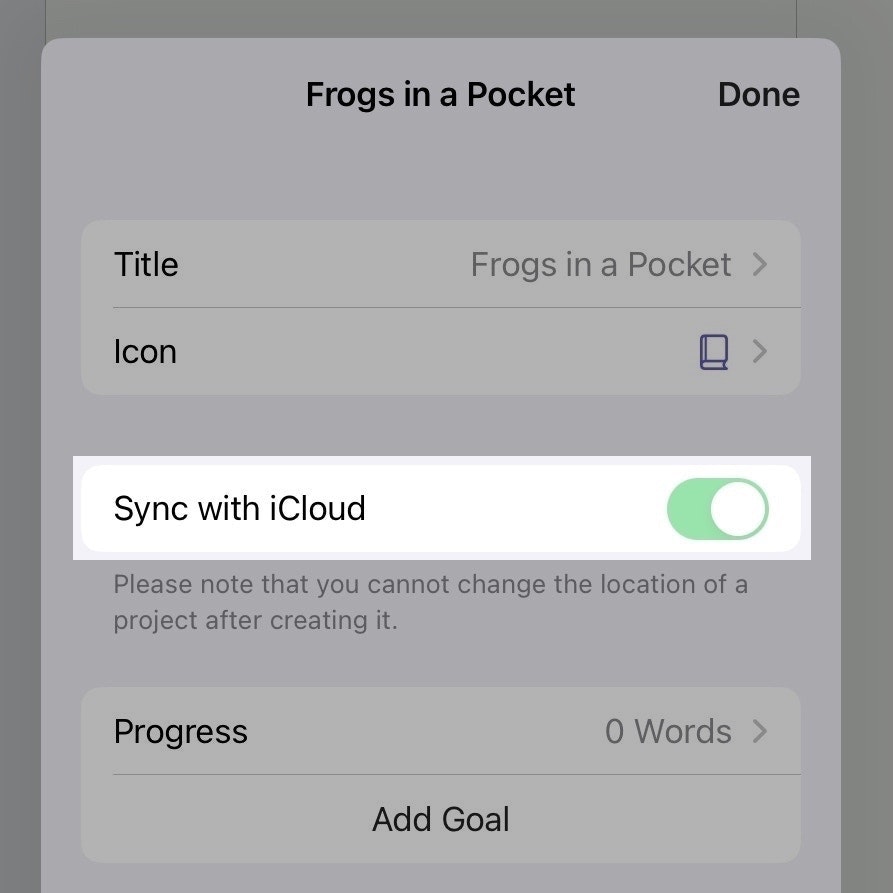
- Now, you can select the location of your project. If you enable the option Sync with iCloud, your project is stored in iCloud. If you disable this option, your project is stored locally on your device.
- You can also select a project icon. If you tap Add Goal, you can set a goal or a deadline.
- Click Done to create the project.
Please note that you cannot change the location of the project after creating it.
Convert an Existing Group Into a Project
You can convert a group that exists in your main library into a project. Here's how to do that:
Mac
- Open Ulysses' library.
- Drag and drop an existing group into the Projects section.
- The group is then automatically converted into a project.
iPad/iPhone
- Open Ulysses' library.
- Touch and hold a group and select Move.
- Tap the + icon in the Projects section.
- The group is then automatically converted into a project.
If you are unsure whether you really want to turn a group into a project, we recommend duplicating the group before moving it.
Convert a Project Group into a Regular Group
It is not possible to convert whole projects. However, you can move individual project groups to other sections, e.g., iCloud. Here's how to do that:
Mac
- Open the project.
- Open Ulysses' library in a second window.
- Drag and drop the group from the project to the iCloud or On My Mac section.
iPad/iPhone
- Open the project.
- Touch and hold a group and select Move.
- Tap the back button in the top left corner.
- Select the + icon at the end of the iCloud or On My iPhone/iPad section.
Project Library
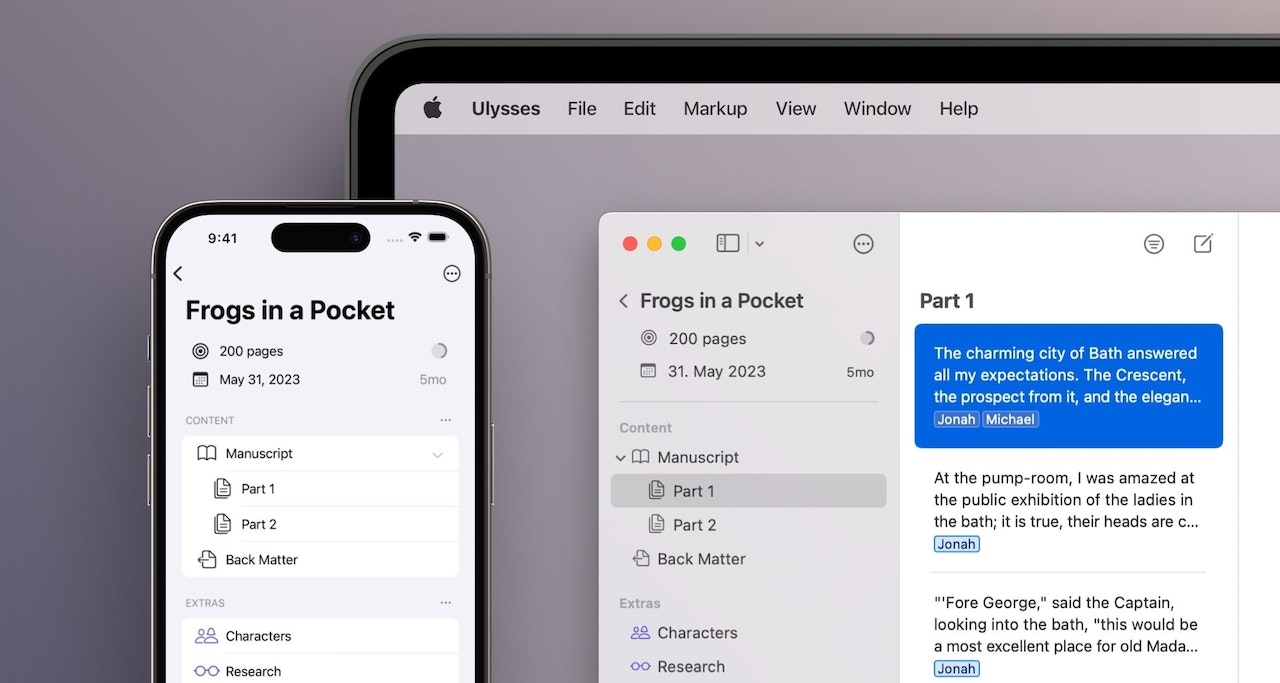
Each project is actually a standalone library. This becomes apparent when you open a project because your main Ulysses library is hidden. This allows you to focus on your project entirely.
A project library has three main categories: Goals, Content and Extras.
Goals
Goals will only be visible if a goal has been created for your project. You can create a project goal when you first set up your project or at a later time.
Mac
- Double-click on the title of your project.
- Check the box next to Goals.
- Set up your goal.
iPad/iPhone
- Touch and hold the project in the main Ulysses library.
- Select Get Info.
- Tap Add Goal and set up the goal.
For general information about goals in Ulysses, see our Goals guide.
Content
The Content section is where all project groups are created and stored. If your project is still empty, you can create a new group by clicking/tapping the New Group button.
If you click/tap the ellipsis next to the section title, you can add a new group/filter or export the content.
Extras
The Extras section is a storage location for everything else, such as individual sheets, sheet templates, favorite sheets, or deleted content.
You can add a new group or filter by clicking/tapping the ellipsis next to the section title.
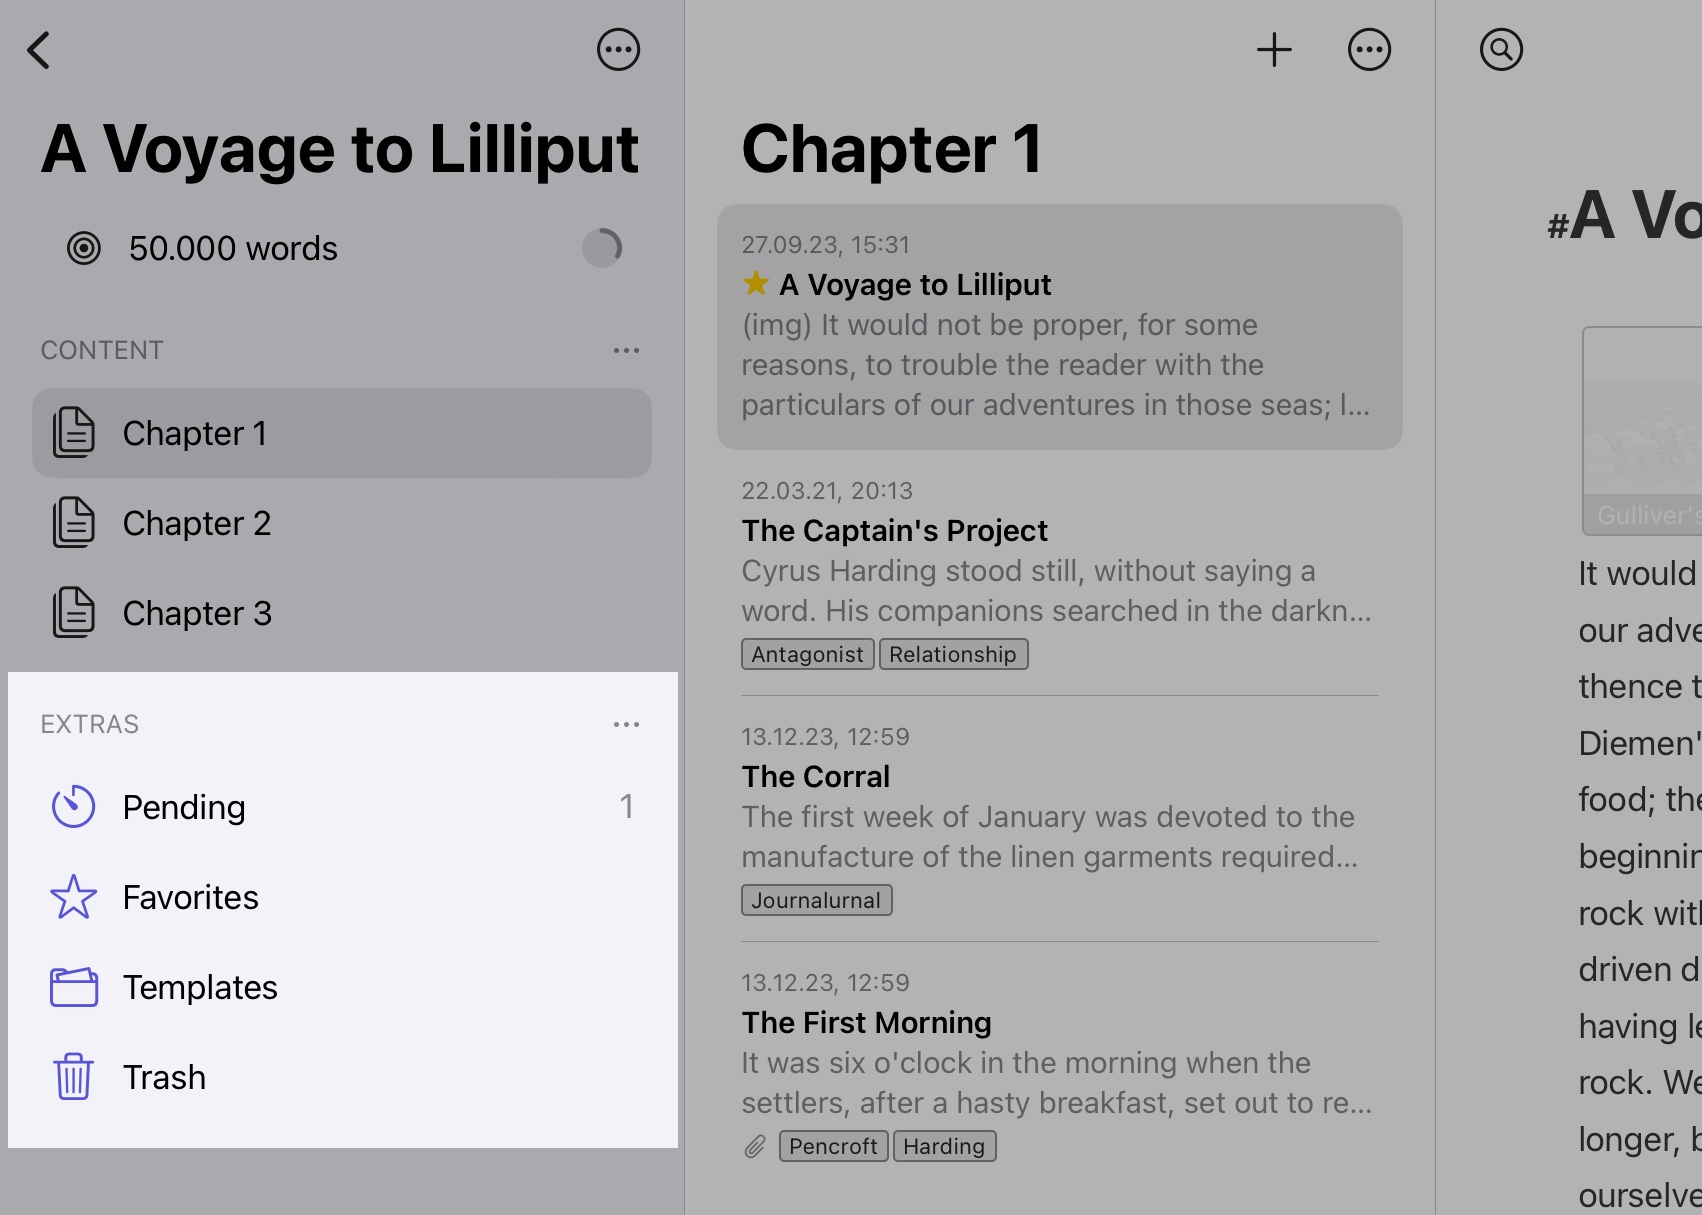
Pending
The pending group in the Projects section doesn't imply that the upload or download is pending. Think of it as your project's inbox. The individual sheets in this group are pending because they are only temporarily stored here until you move them to a group within your project.
In the Projects section, you usually work in groups. However, if you drag a single sheet into a project or create a new sheet within a project without selecting a group first, this sheet must be saved somewhere. For this purpose, there is a Pending group for each project.
Favorites
All sheets of a project that you mark as favorites are displayed here. This way, you have a handy overview of all your favorite writings. Please note that this group only appears after you have marked a sheet as a favorite.
To favorite a sheet, right-click (Mac) or touch and hold (iPad/iPhone) it and select Favorite.
Templates
The Templates group allows you to create and store sheet templates for your project. Sheets that are dragged into or out of this group are automatically copied and not moved. This makes them ideal for texts with a recurring structure, e.g., blog posts. The Templates group is created automatically for all projects and cannot be deactivated.
To create a template, drag and drop (Mac) a sheet to the Templates group. On iPad/iPhone, touch and hold a sheet, tap Copy to and select Templates.
Trash
All sheets and groups you delete in a project automatically end up in Trash.
If you right-click (Mac) or touch and hold (iPad/iPhone) a group/sheet in the Trash, you can put the group/sheet back, move or erase it.
Project Management
If you right-click (Mac) or touch and hold (iPad/iPhone) a project in the library, you can not only edit the project but also duplicate or archive it.
Duplicating a Project
This feature allows you to use a project as a simple template. Just create a project with all the content and settings and duplicate it whenever necessary.

If you duplicate an archived project template (see below), you can prevent the template from being accidentally modified.
Archiving a Project
Once you've completed a project, you'll probably want to archive it. In this case, the archiving option comes in handy.
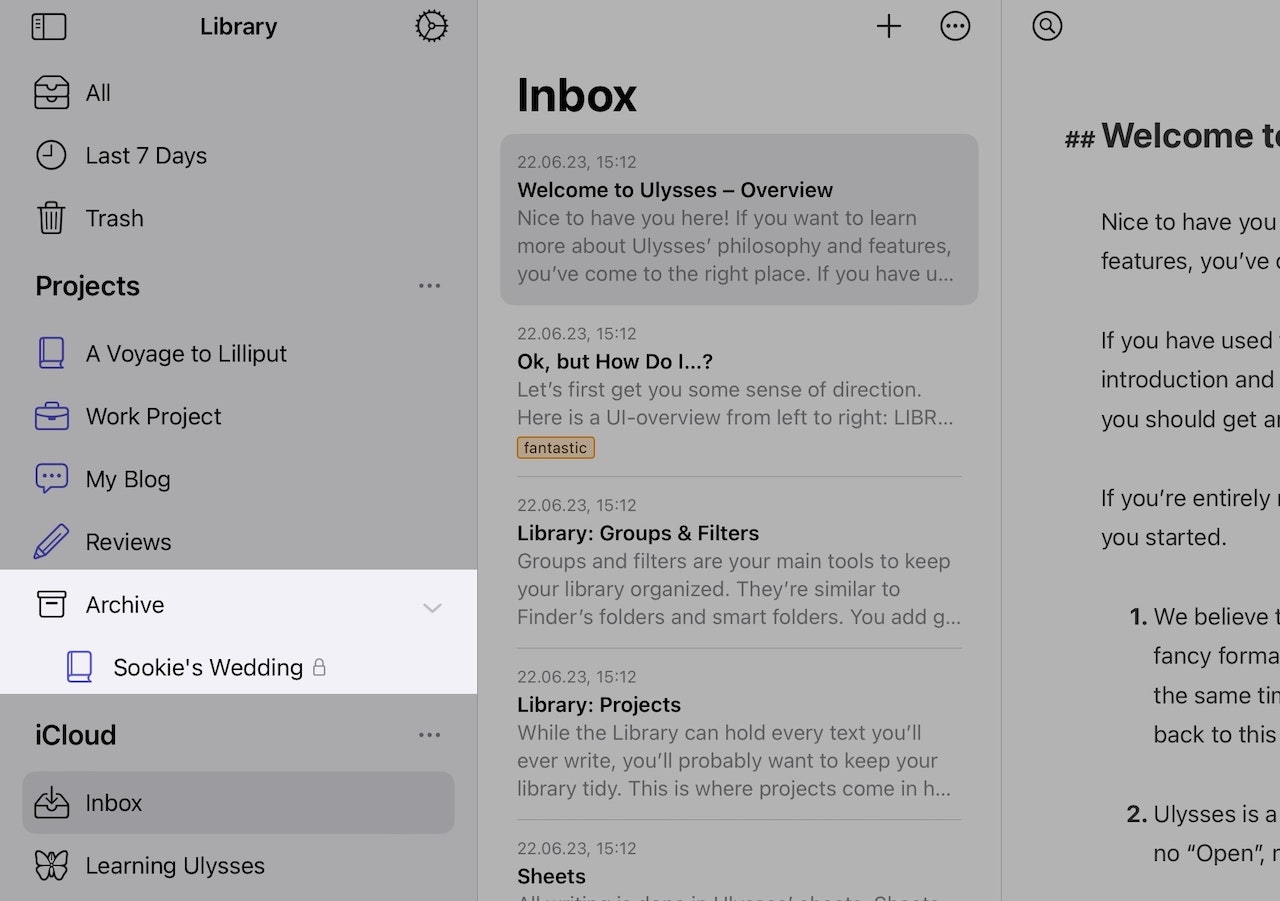
When you select Archive, the project is moved to the Archive group at the bottom of the Projects section. Once archived, the project is in read-only mode. This means that the project cannot be edited anymore. You can, however, export the contents of the project.
Deleting a Project
To delete a project, you must first archive it, as mentioned above. Then, if you right-click (Mac) or touch and hold (iPad/iPhone) the archived project, you can erase it. You also have the option to restore it as a regular project or duplicate the archived project.
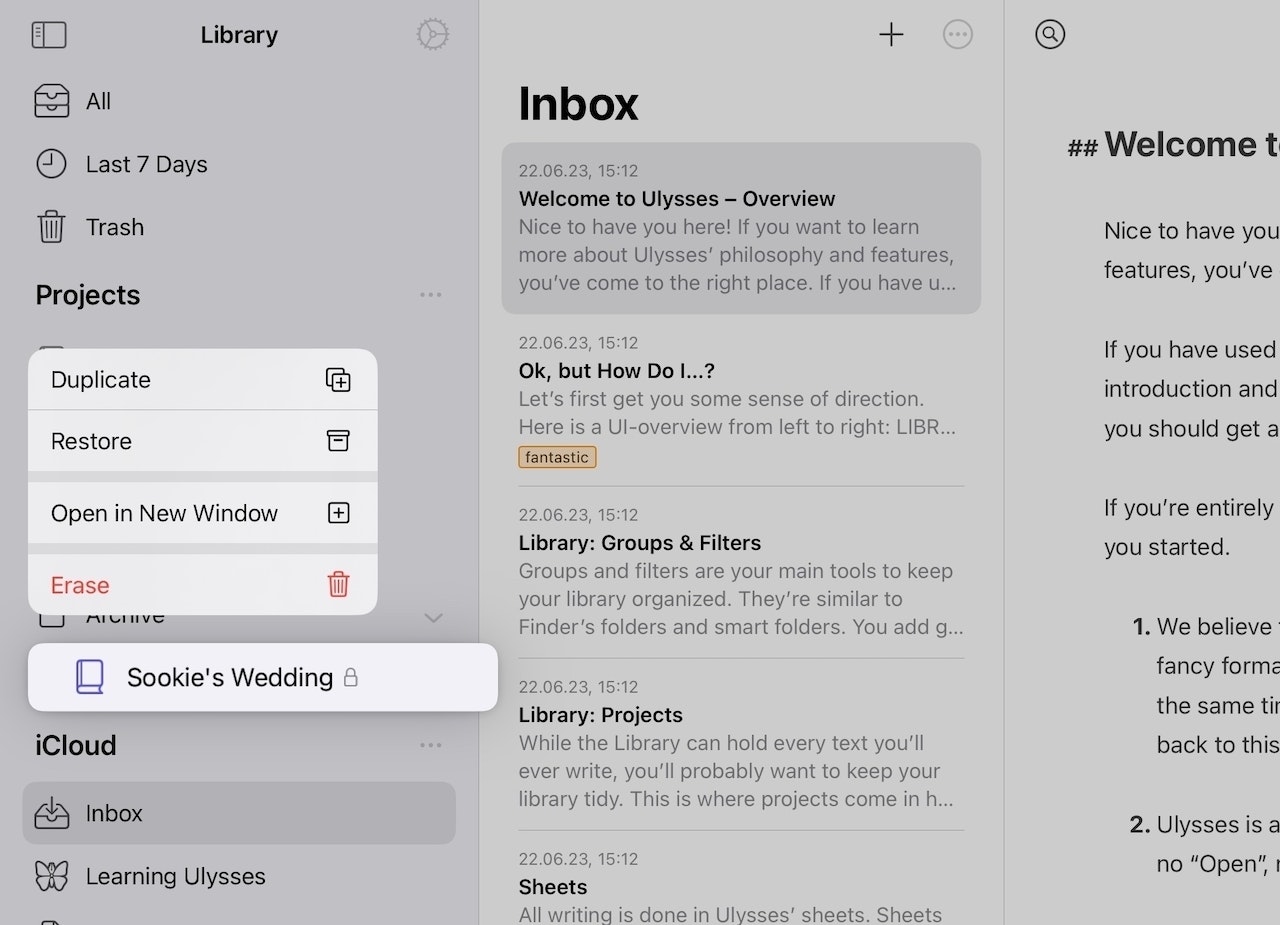
Please be aware that if you erase the project, there will be no copy of it in the Trash. If you need to restore an erased project, you can do so with our automatic backups.
Synchronization of Projects
If iCloud is enabled on your device and you didn't select another location when you set up the project, your projects are synced via iCloud by default. Here is how to check the sync status of a specific project:
Mac
- Right-click the project to open the context menu.
- Select Edit…
- In the dialog that appears, click the ⓘ button next to Where. If it’s set to iCloud, your project is synced.

iPad/iPhone
- Open Ulysses’ library.
- Touch and hold the project and tap Get Info.
- Your project is synced if the Sync with iCloud toggle is on.